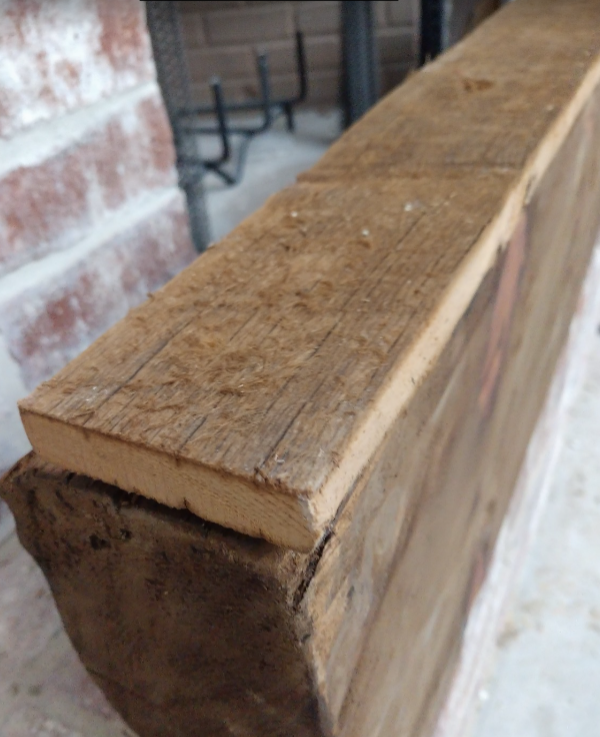
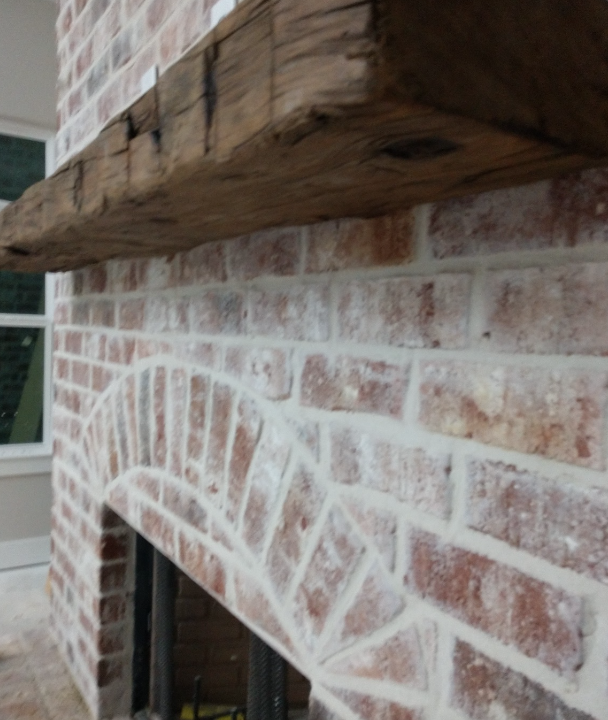
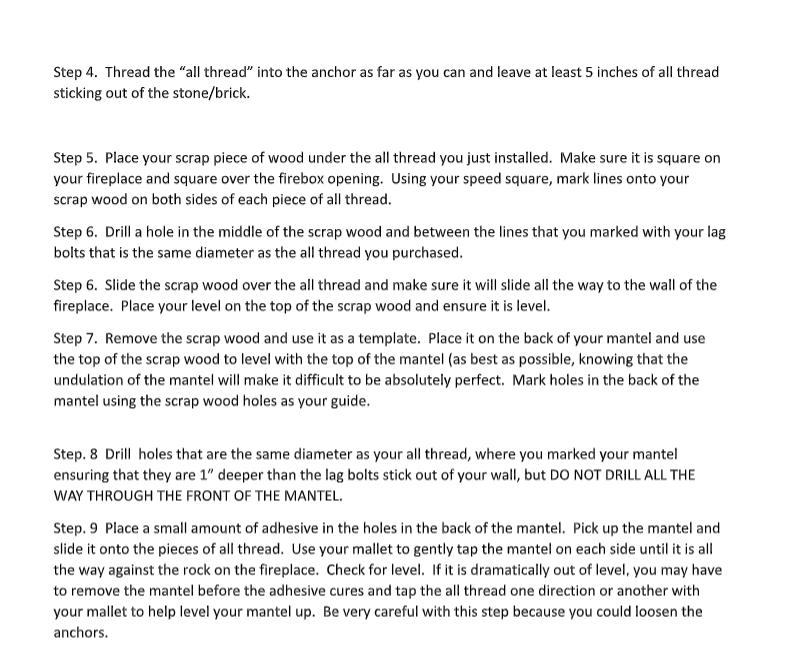
```
Step 6. Slide the scrap wood over the lag bolts and make sure it will slide all the way to the wall of the
fireplace. Place your level on the top of the scrap wood and ensure it is level.
Step 7. Remove the scrap wood and use it as a template. Place it on the back of your mantel and use
the top of the scrap wood to level with the top of the mantel (as best as possible, knowing that the
undulation of the mantel will make it difficult to be absolutely perfect. Mark holes in the back of the
mantel using the scrap wood holes as your guide.
Step. 8 Drill ½” holes where you marked your mantel ensuring that they are 1” deeper than the lag bolts
stick out of your wall, but DO NOT DRILL ALL THE WAY THROUGH THE FRONT OF THE MANTEL.
Step. 9 Place a small amount of adhesive in the holes in the back of the mantel. Pick up the mantel and
slide it onto the two lag bolts.
Use your mallet to gently tap the mantel on each side until it is all the
way against the rock on the fireplace. Check for level.
If it is dramatically out of level, you may have to
remove the mantel before the adhesive cures and tap your lag bolts one direction or another with your
mallet to help level your mantel up.
Steps for installing if the studs are not able to be found behind the stone/brick
(Reference the above photos for help. The steps are essentially the same, but you are using anchors and
all-thread instead of lag bolts)
Materials and tools:
Masonry anchors and matching all thread (You will need two pieces of all-thread probably 8 inches
long)
Masonry drill bit that matches the masonry anchors
Wood drill bit that is the same size as the all-thread you purchased and drill
Level
Mallet
Scrap piece of wood that is 1” thick or less and the length of your mantel
Speed square
Construction adhesive
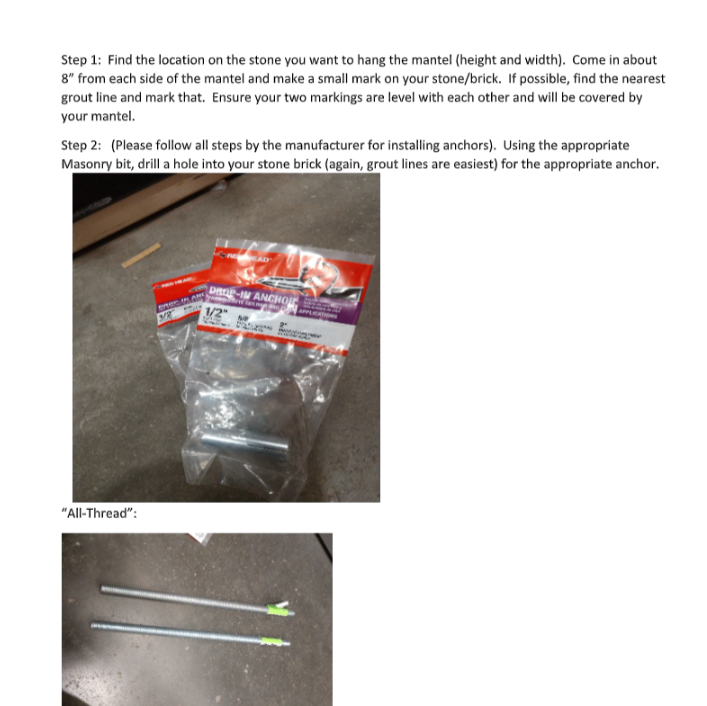
Step 3. Tap the anchor into the holes you just drilled.


